Gluten Free Louise Cake
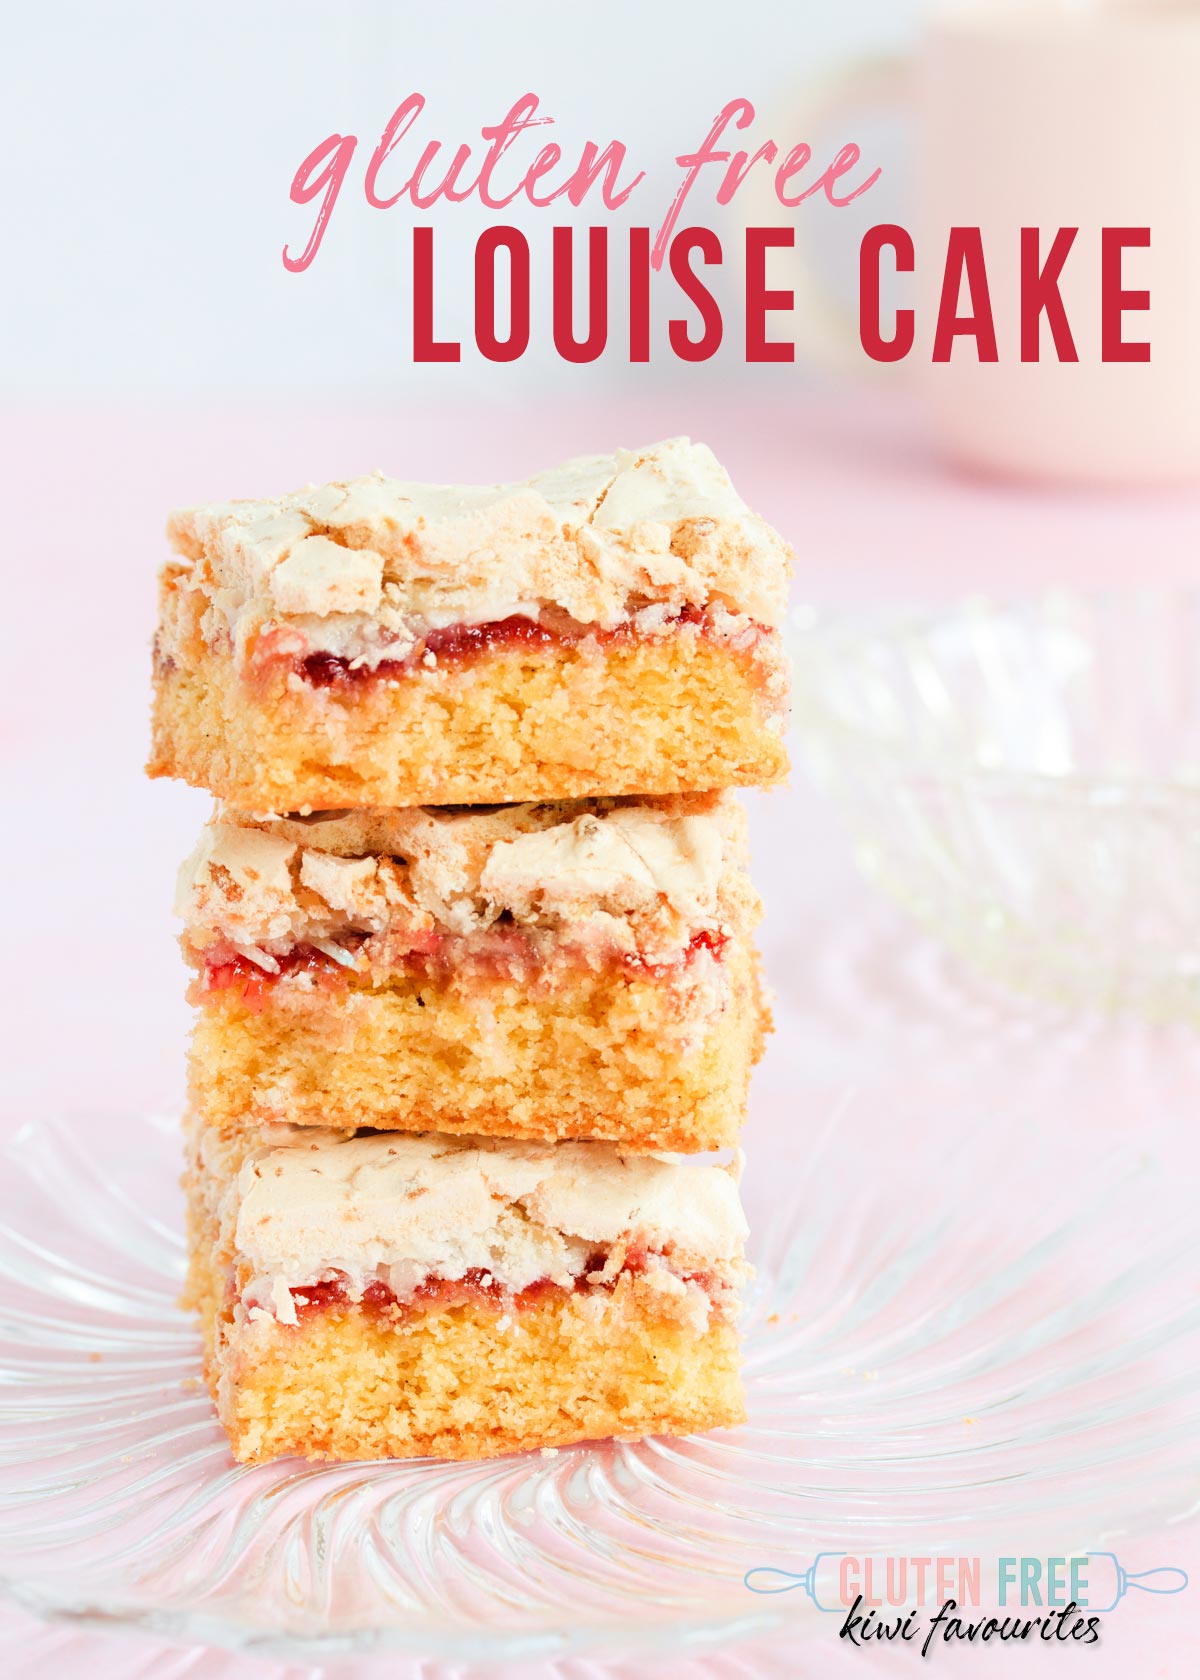
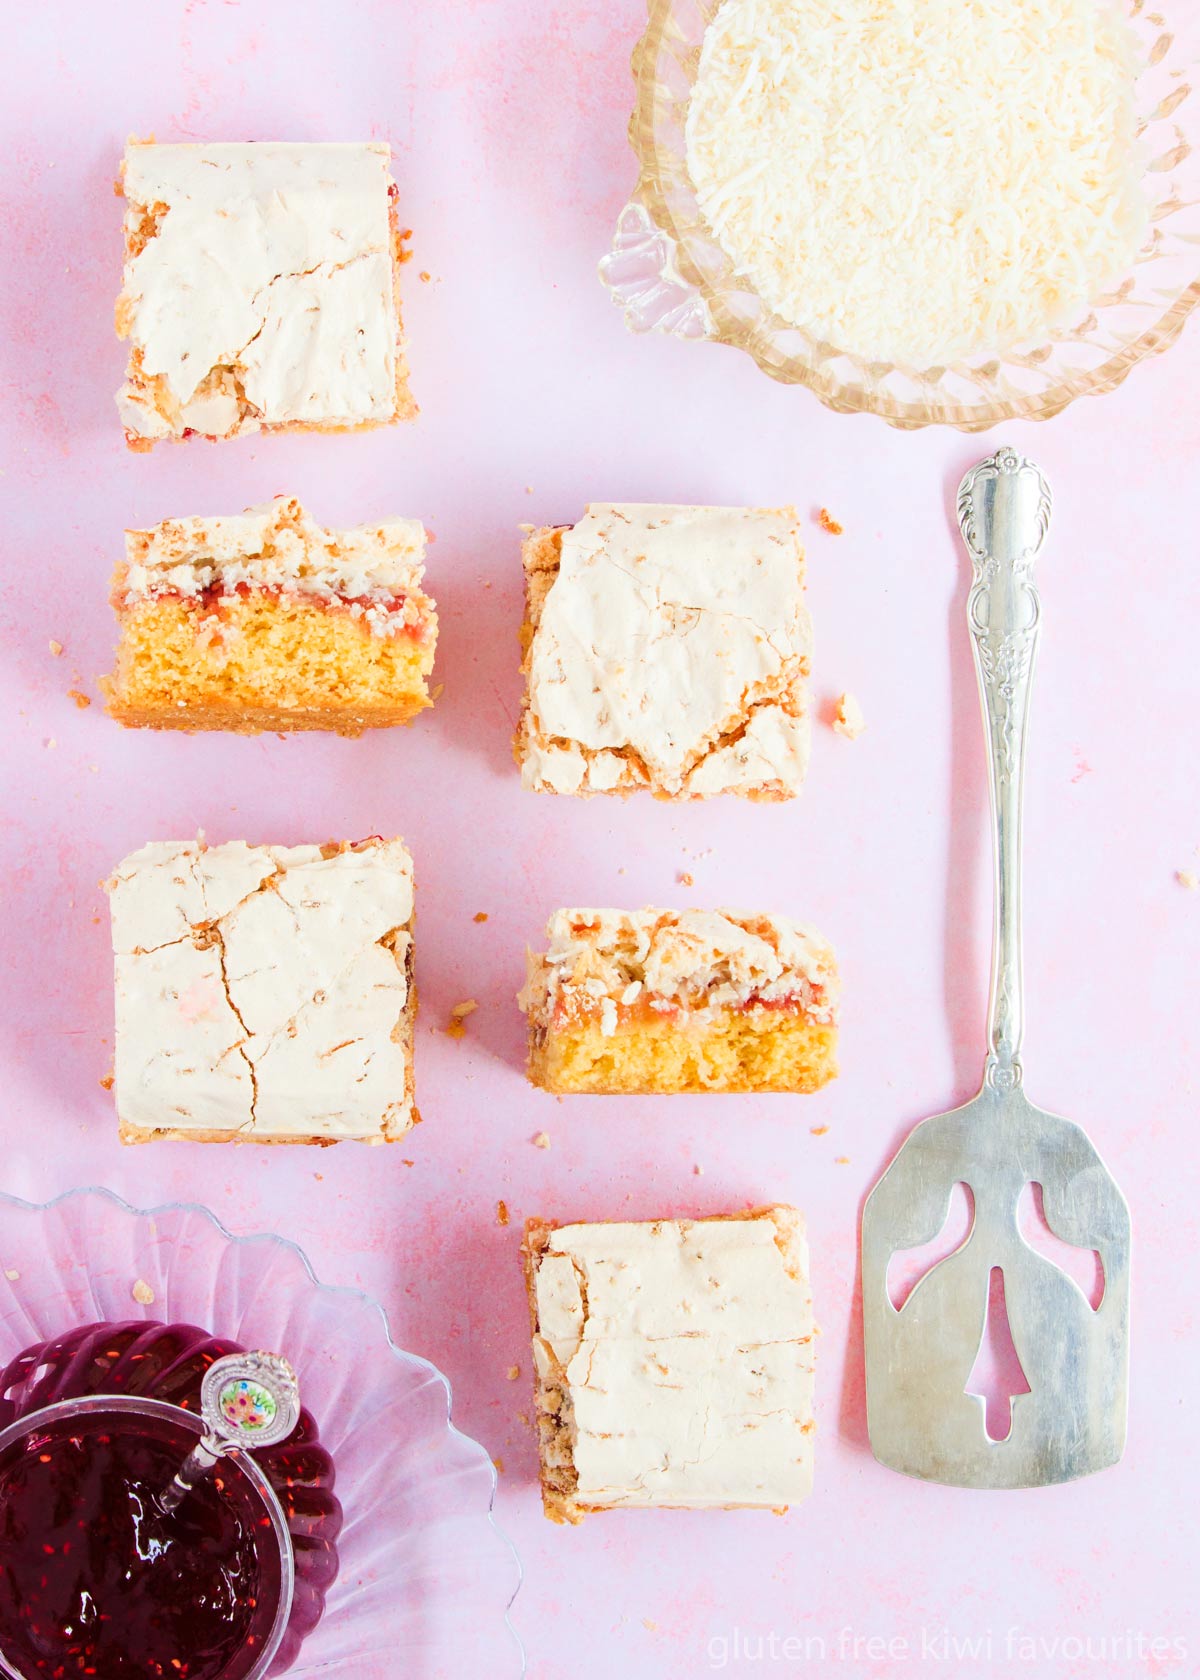
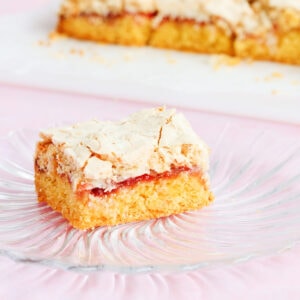
This gluten free Louise Cake has those three classic layers – buttery shortcake base, raspberry jam and crackled coconut meringue. A perfect tea-time treat.
Louise Cake, also known as Louise Slice, is a true New Zealand baking staple.
Rumoured to be named in honour of the wedding of Princess Louise, one of Queen Victoria’s daughters, I could say it’s old-fashioned, but I’m not going to, because that feels like a rude thing to say to such a lovely slice.
It has that whole “tea shop” vibe going on with the light, fluffy meringue and the pretty pink jam, but I still reckon a big slab of Louise Cake would be equally at home in the hand of a builder on his lunch break.
In case you’re not familiar with Louise Cake, let’s do a quick recap. I love a good multi-layered slice, and there is a lot to love about a slice of Louise cake.
Louise Cake Layers
First up there’s that buttery base.
Different versions of this recipe have the base layer varying between a biscuit texture and a more cakey texture, and there was some debate in our house as to which version was better.
While perfecting this gluten free Louise cake recipe I made versions at either end of that scale, and in the end, we all agreed that this version – where the base is almost smack-bang in the middle, kinda cakey, kinda biscuity – was our favourite.
The exact texture of your Louise cake may vary slightly depending on the gluten-free flour you choose to use, but either way, this is a delicious slice that is perfect with a cup of tea.
Next up, there’s that middle layer of sweet/tart raspberry jam. Raspberry is the traditional jam flavour used in Louise Cake, but you can experiment with other jam flavours if you like.
Then it’s all topped with that crackled layer of sweet meringue and shredded coconut.
Scroll down to the recipe card for the full ingredients list and printable recipe, or keep reading for ingredient tips and process photos.
Ingredient Notes
This slice recipe does use quite a few ingredients, some of which aren’t included in traditional recipes, but I found they gave a much better result, and I’m all about getting the best bang for your buck.
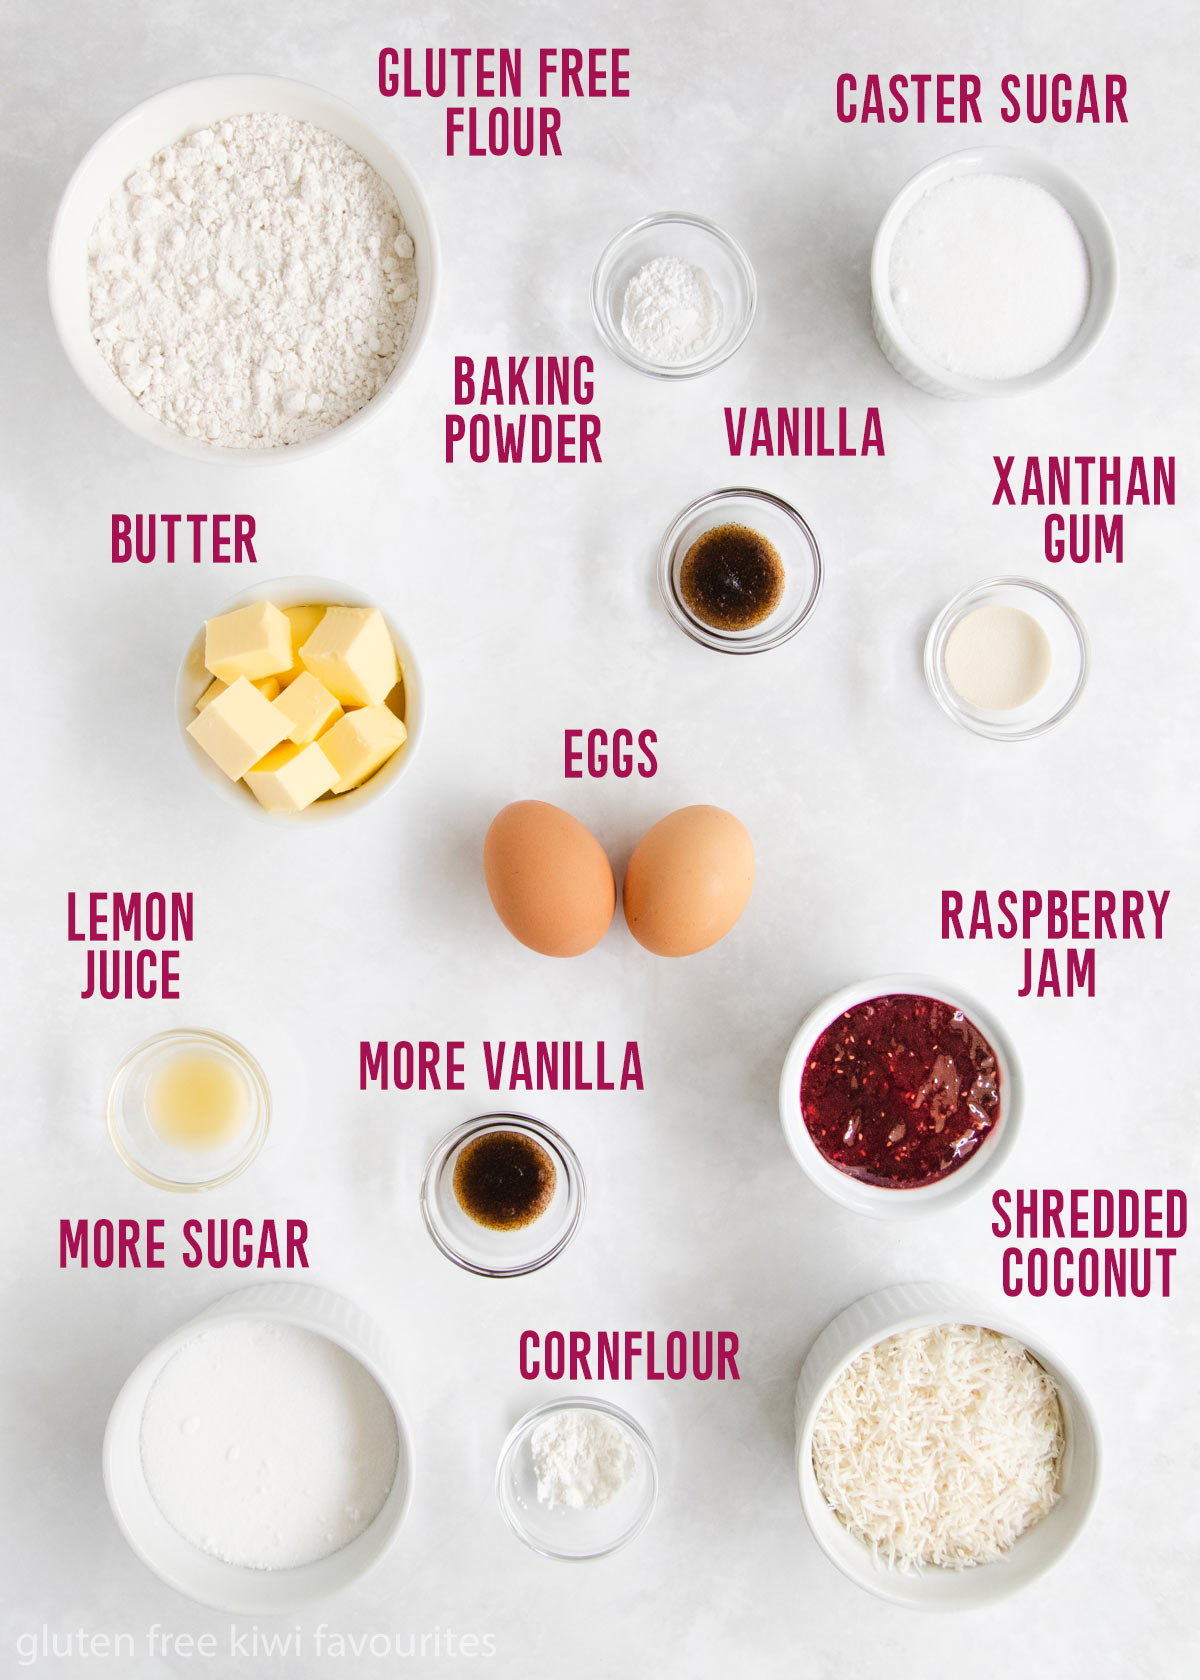
- Butter – Either salted or unsalted butter will work in this recipe. If you use unsalted, you can add a pinch of salt to the base mixture if you wish.
- Caster Sugar – I prefer caster sugar in both the base and the meringue mixture. It makes for a softer, lighter base, and it dissolves much faster into the meringue and makes the meringue more stable. But if regular sugar is all you have on hand, then by all means use that instead.
- Eggs – We’ll use the egg yolks in the base, and the whites to make the meringue topping. Use large eggs for the best results.
- Gluten-Free Flour – I used my favourite homemade gluten-free flour blend for the Louise cake in the photos in this post. I have also tested it with the Edmonds gluten free plain flour, and it works well. Other pre-made blends should also work, but the texture of the base may be slightly different depending on the blend.
- Xanthan Gum – This helps stop the base from crumbling. If using a pre-made gluten free flour blend that contains a gum ingredient (it will say in the ingredients list), you can leave out the xanthan gum from this recipe.
- Baking Powder – Gives a little bit of lift to the base.
- Vanilla – Use a good-quality vanilla extract or vanilla paste for the best flavour.
- Shredded Coconut – Also sometimes known as “thread coconut”, this is a coarsely grated dried coconut. It is much thicker than desiccated coconut. If you can’t get shredded coconut, you can use the same weight of desiccated coconut instead.
- Raspberry Jam – Use a good quality, thick raspberry jam. I find that more commercial jams, such as Craigs worked better than the “fancier” jams or raspberry spreads such as Barkers, which contain less sugar and tend to become runnier when baked. Don’t want to use raspberry jam? You can pretty much use any jam flavour you like – plum jam and strawberry jam would both work well here too. Lemond curd is also amazing in this, and i have notes on that below.
- Cornflour – A non-traditional ingredient that I’ve added to the meringue layer, it helps to stop the meringue layer from sinking in the middle – think of it more like a pavlova, which also contains cornflour. If you don’t have cornflour in your pantry then just leave it out.
- Lemon Juice – Another non-traditional ingredient, the lemon juice helps the meringue set faster, again helping it hold that lovely fluffy texture. Again, if you don’t have it on hand, leave it out.
Lemon Curd Version: I have made this recipe with lemon curd instead of raspberry jam, and it is incredible. Like lemon meringue pie, but with coconut and a cakier base. I just swapped the jam for lemon curd, and because the lemon curd is a bit softer, I popped the base with the lemon curd on it into the freezer while I made the meringue topping.
In lemon season, you can add some lemon zest to the base, but if it’s not, you can add two tablespoons of the lemon curd to the base mixture before adding the flour.
How to Make Gluten Free Louise Cake
A note on baking pans:
Because there is no such thing as a “standard” sized slice tin, I decided to make all the slice recipes on GFKF in an 8″/20cm square cake pan. All 8″ square cake pans are the same size (well, near enough) and if you have one, then you can make any slice recipe on this site and not need to make any adjustments. Slice pans can vary hugely in size and depth, meaning that if you bake a slice in a very different sized pan to what I wrote the recipe in, then your baking times will be very different, as will the thickness of the finished slice.
Having said that, if all you have is a slice pan, as long as it’s not huge, you should be able to bake these recipes in it just fine. Make sure you keep an eye on it during the baking time, and use your best judgement as to whether the baking time needs to be adjusted.
Ok, let’s get into it.
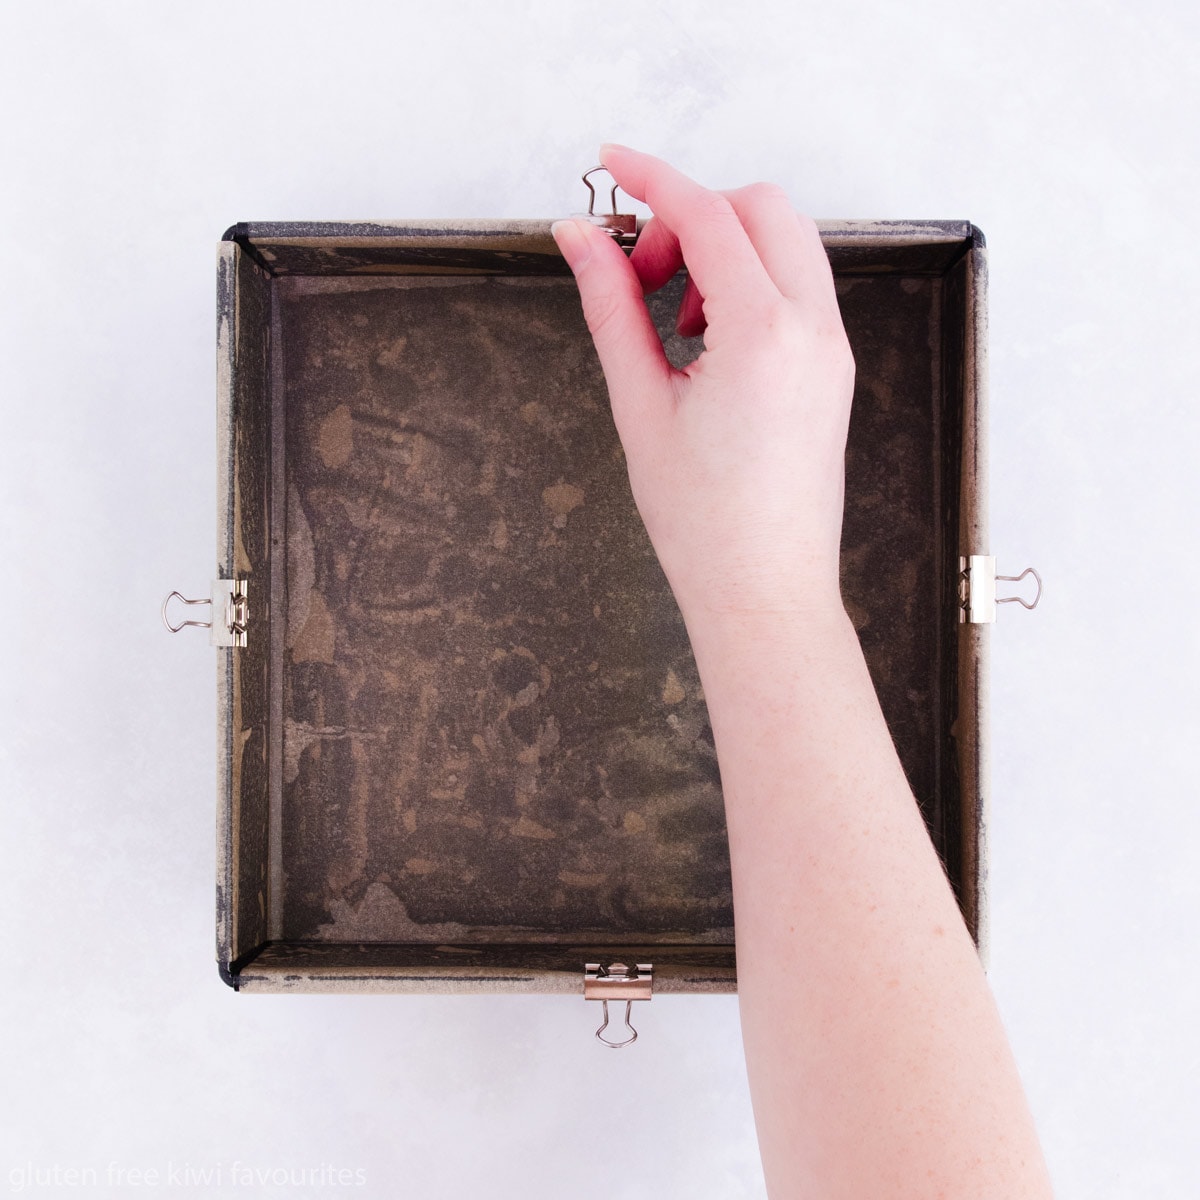
Lining the Pan
Start by lining the cake tin. I like to use two long strips of baking paper, crisscrossed over the bottom of the pan. This makes it easy to lift the slice out later to cut it. Spray the bottom and sides of the pan with baking spray or rub with softened butter, before laying the first strip in, then spray the bottom again before laying in the second strip. You can clip the edges down with binder clips if you want.
Making the Base
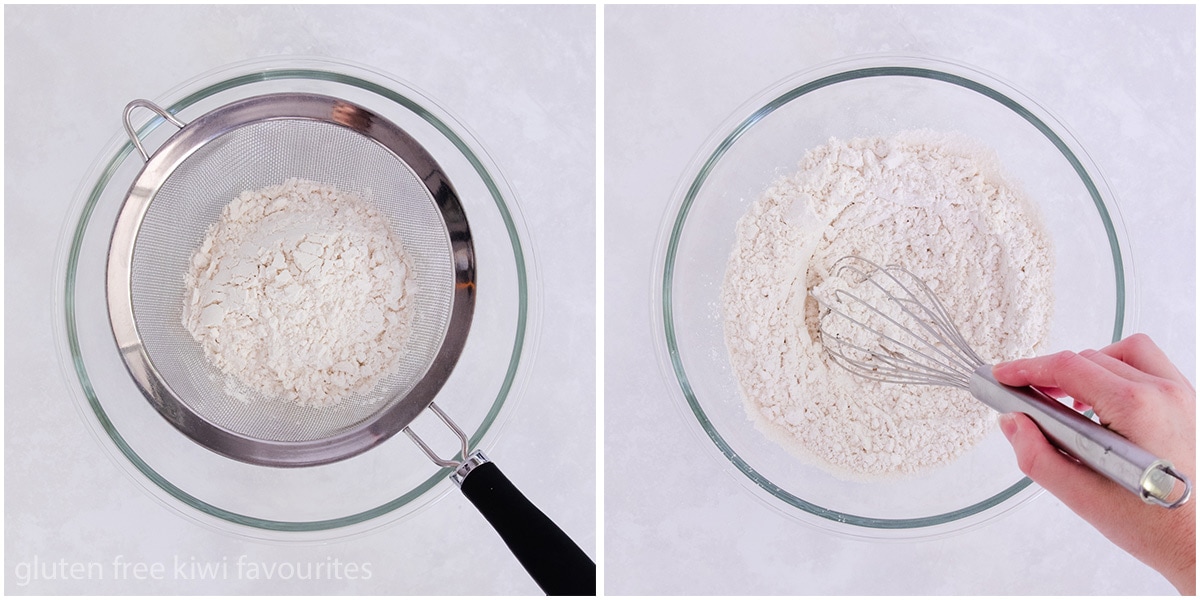
Sift the dry ingredients together and give them a good stir with a whisk or fork to combine them well.
Making the base mixture is like making most cake batters or cookie doughs, you’ll start by creaming the softened butter, sugar and vanilla in a large bowl with an electric mixer until light and fluffy (2-3 minutes), then beat in the egg yolks until combined.
Then switch to low speed and add in the dry ingredients in 2-3 additions. I tend to stir in the last addition by hand as the mixture is quite stiff by this stage and is hard on the mixer motor. Make sure you scrape down the sides of the bowl and get everything all combined nicely.
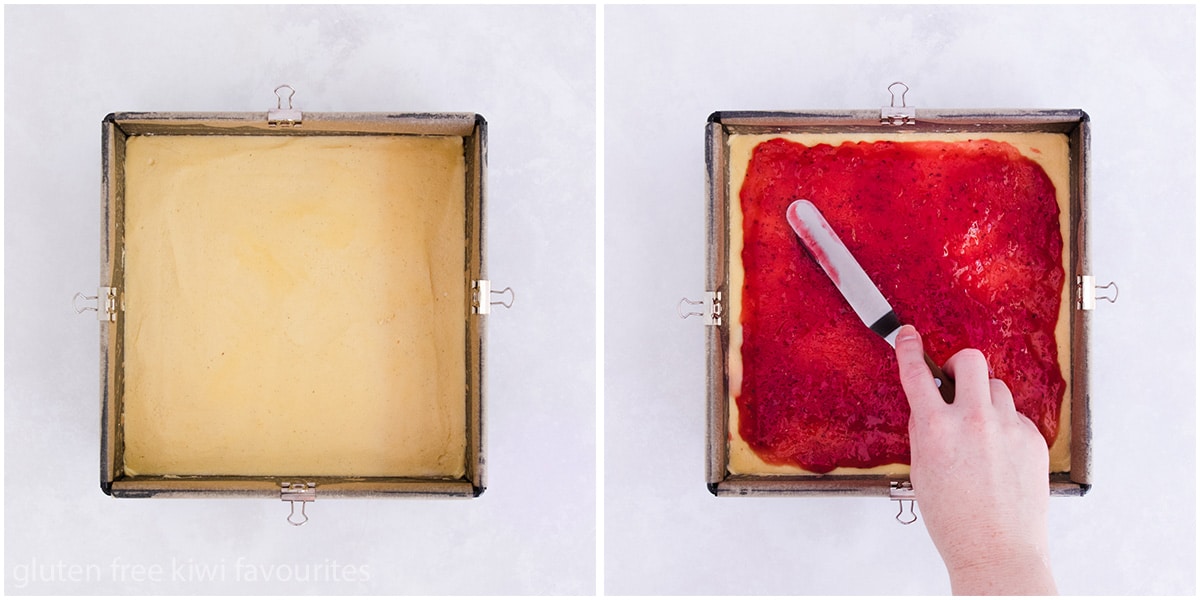
Spread the mixture into the prepared tin using an offset spatula or the back of a spoon. It helps to run the back of the spatula or spoon under hot water if the mixture is sticking to it.
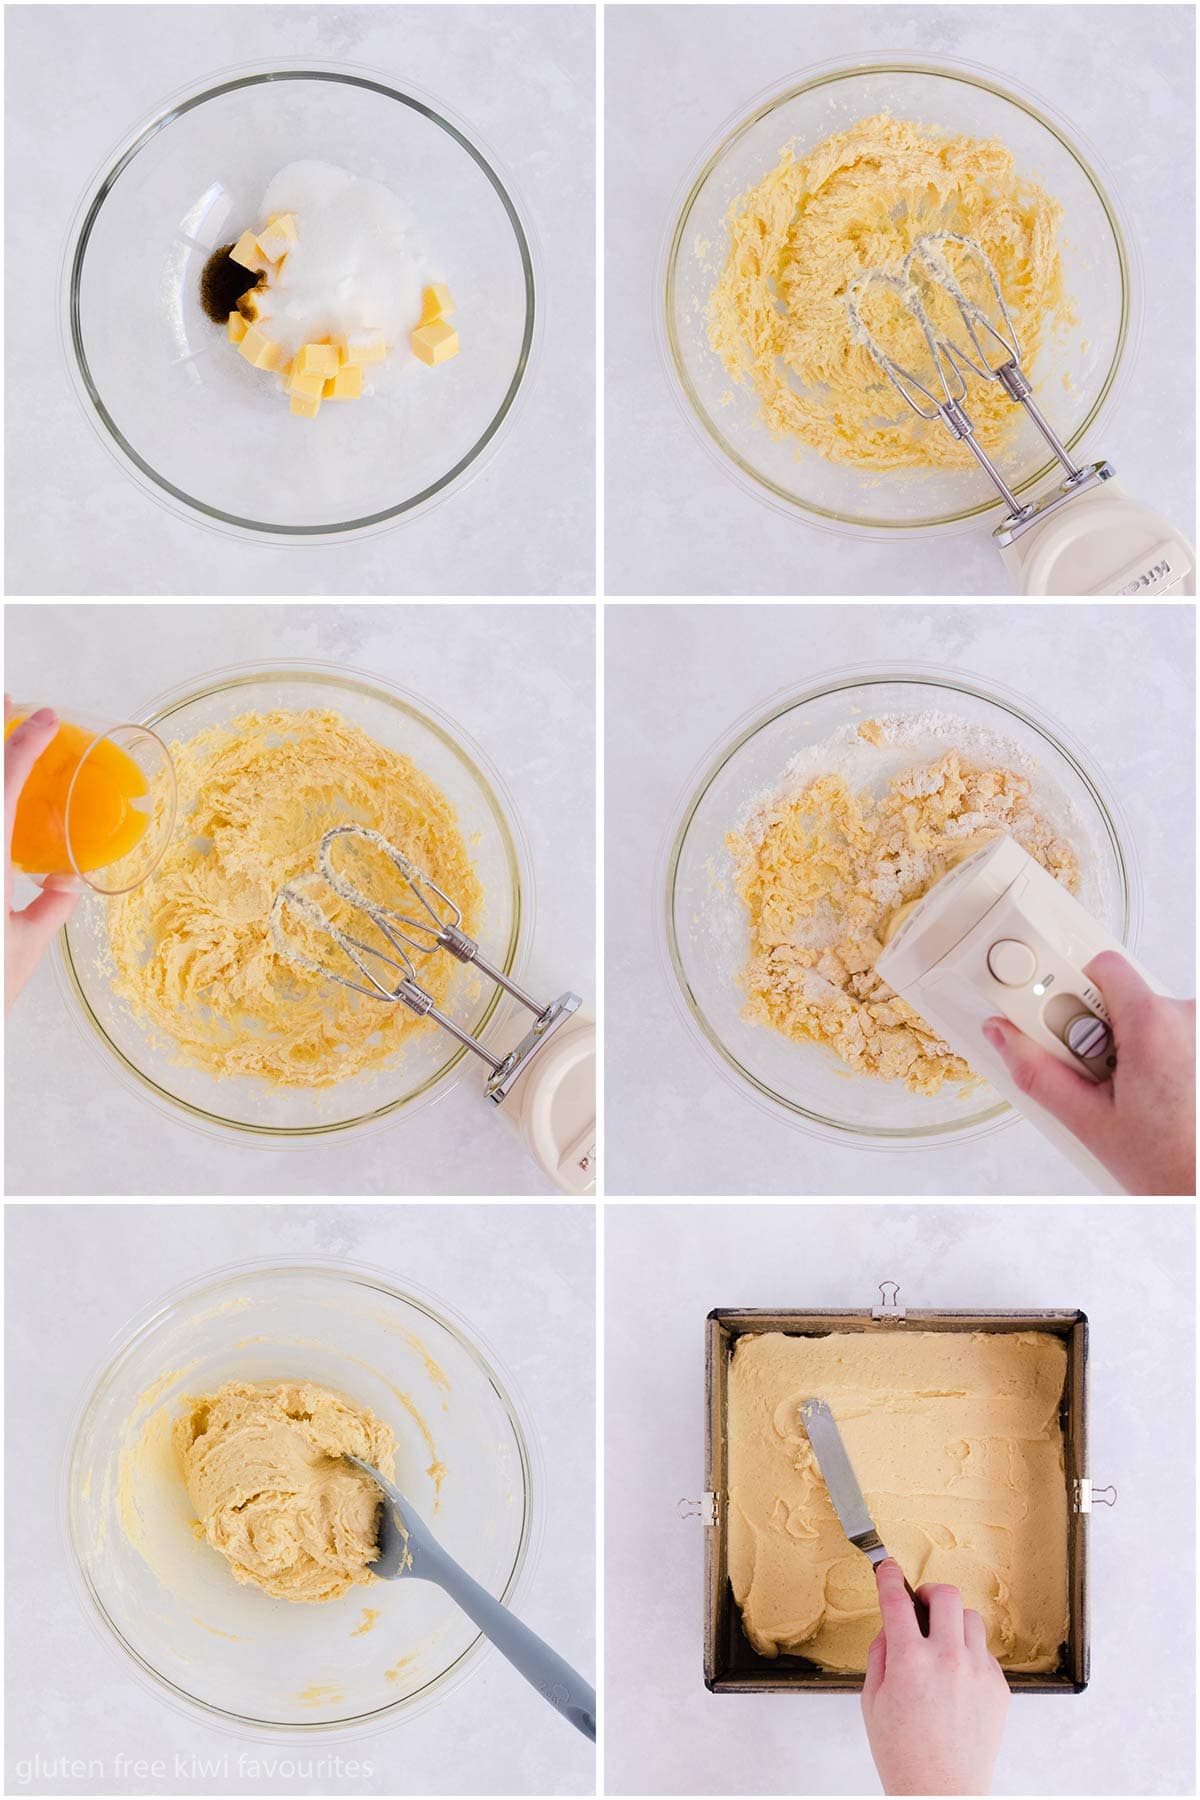
Spread the jam over the base mixture. I prefer to avoid the edges, the jam will spread out more when you add the meringue, and this helps to stop too much leaking out the edges as it bakes.
Making the Meringue
Making the meringue topping for Louise cake is just like making regular meringues or pavlova.
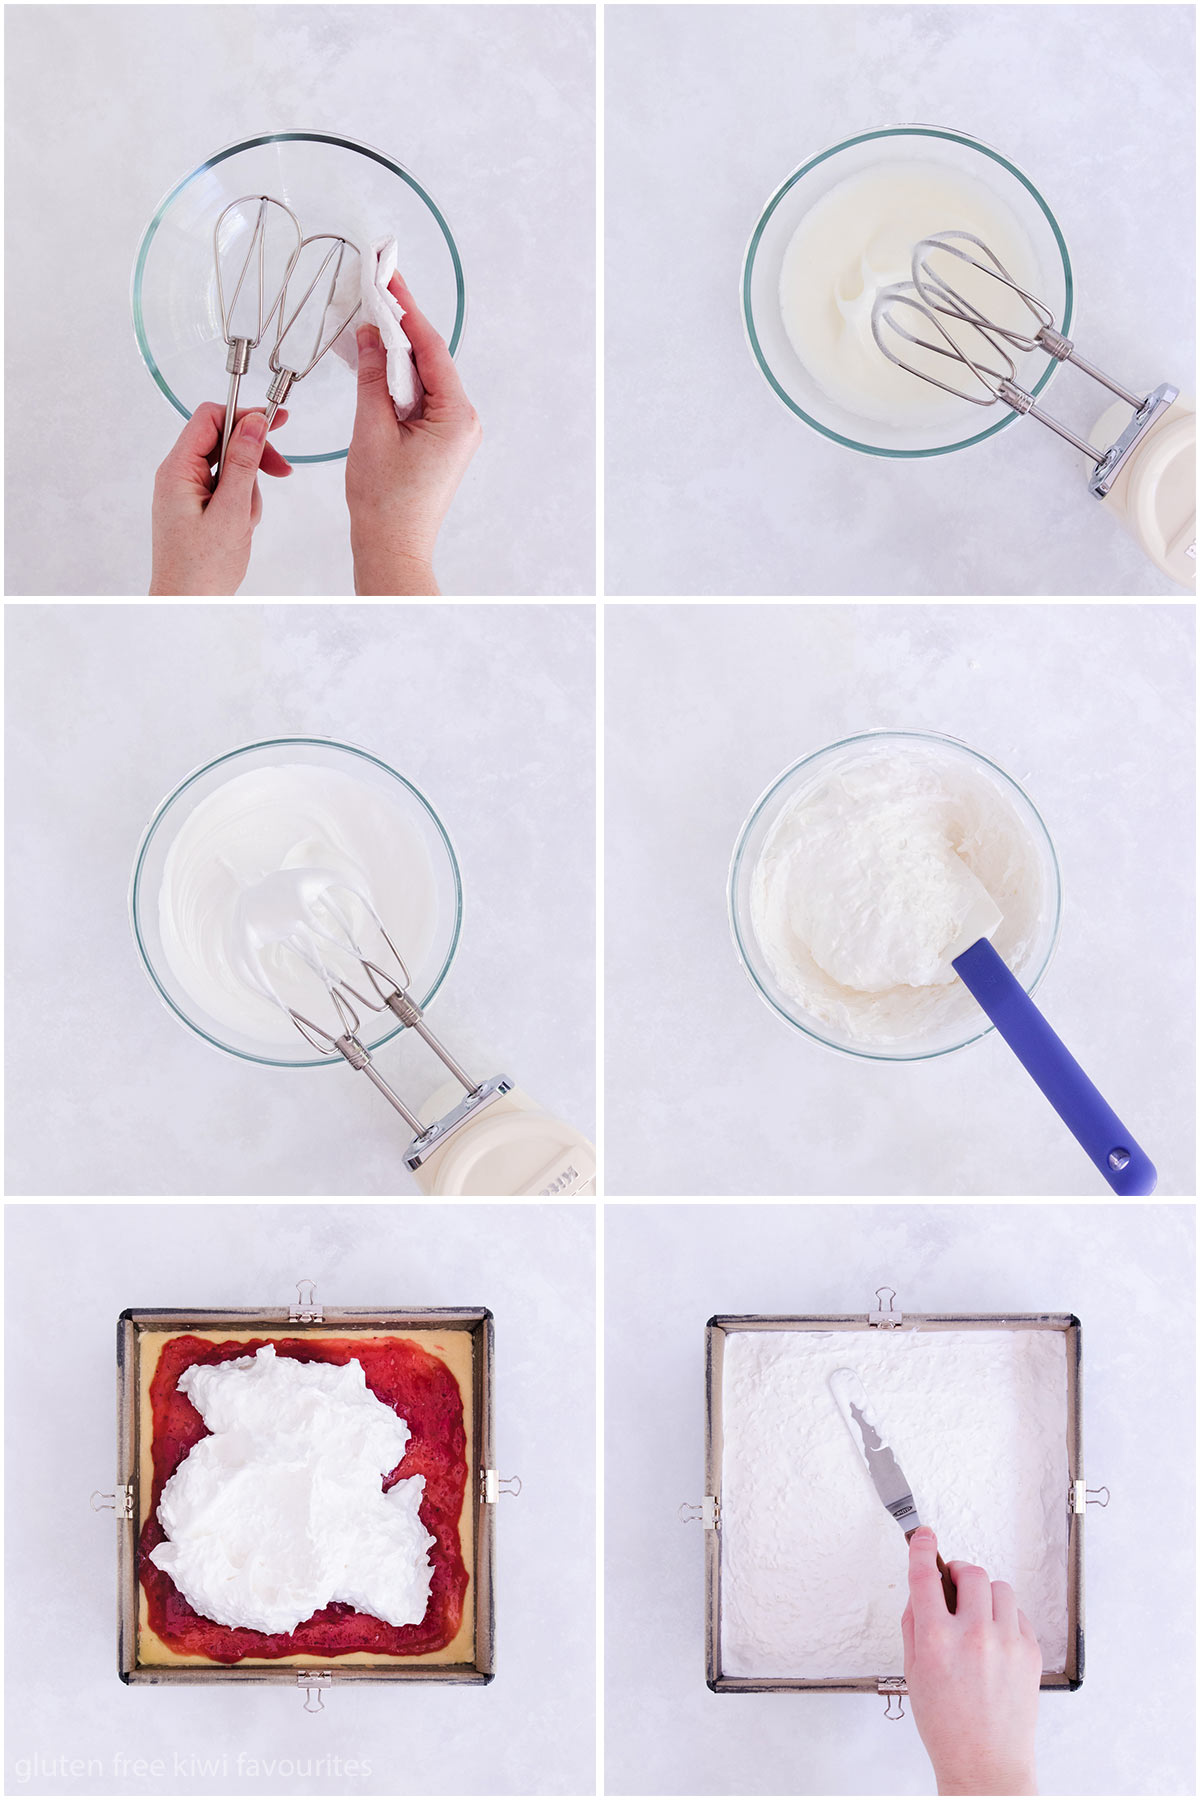
First, it’s a good idea to rub the beater blades and the bowl with a paper towel dipped in lemon juice – this will remove any grease, which can stop the meringue from whipping up properly.
Whip the egg whites until soft peaks form, then begin to add in the sugar a tablespoon or so at a time, beating well between additions. Continue beating until stiff peaks form.
Beat in the lemon juice, cornflour and vanilla, then fold in the coconut using a large spoon or a spatula. Spread the meringue evenly over the base and jam layer.
Louise Cake Meringue Tips
- Grease/oil is the enemy of meringue; it will prevent it from reaching and holding its full volume.
- Make sure your hands are clean when you separate the eggs.
- Be very careful not to get any yolk in with the whites, as the yolk contains fat.
- Separate the eggs into two small bowls or glasses, then transfer each white to the mixing bowl. This means if you get yolk into one white, you can just throw out that one and you haven’t contaminated all of the whites.
- Eggs will separate more easily when they are cold from the fridge, but it’s best to let the separated egg whites warm up to room temperature before whipping them, for the best volume.
- Use a glass or metal bowl – plastic is harder to get 100% clean and grease-free.
- Add the sugar slowly, making sure it dissolves properly.
- Fold in the coconut gently, so you don’t knock out all the air.
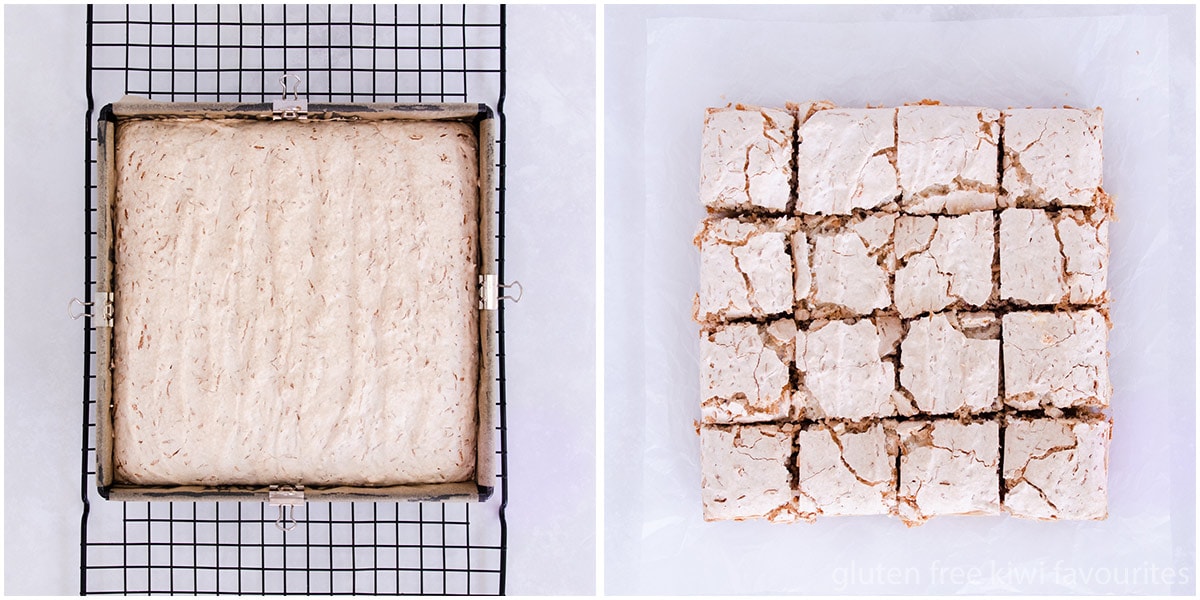
Baking and Cutting the Slice
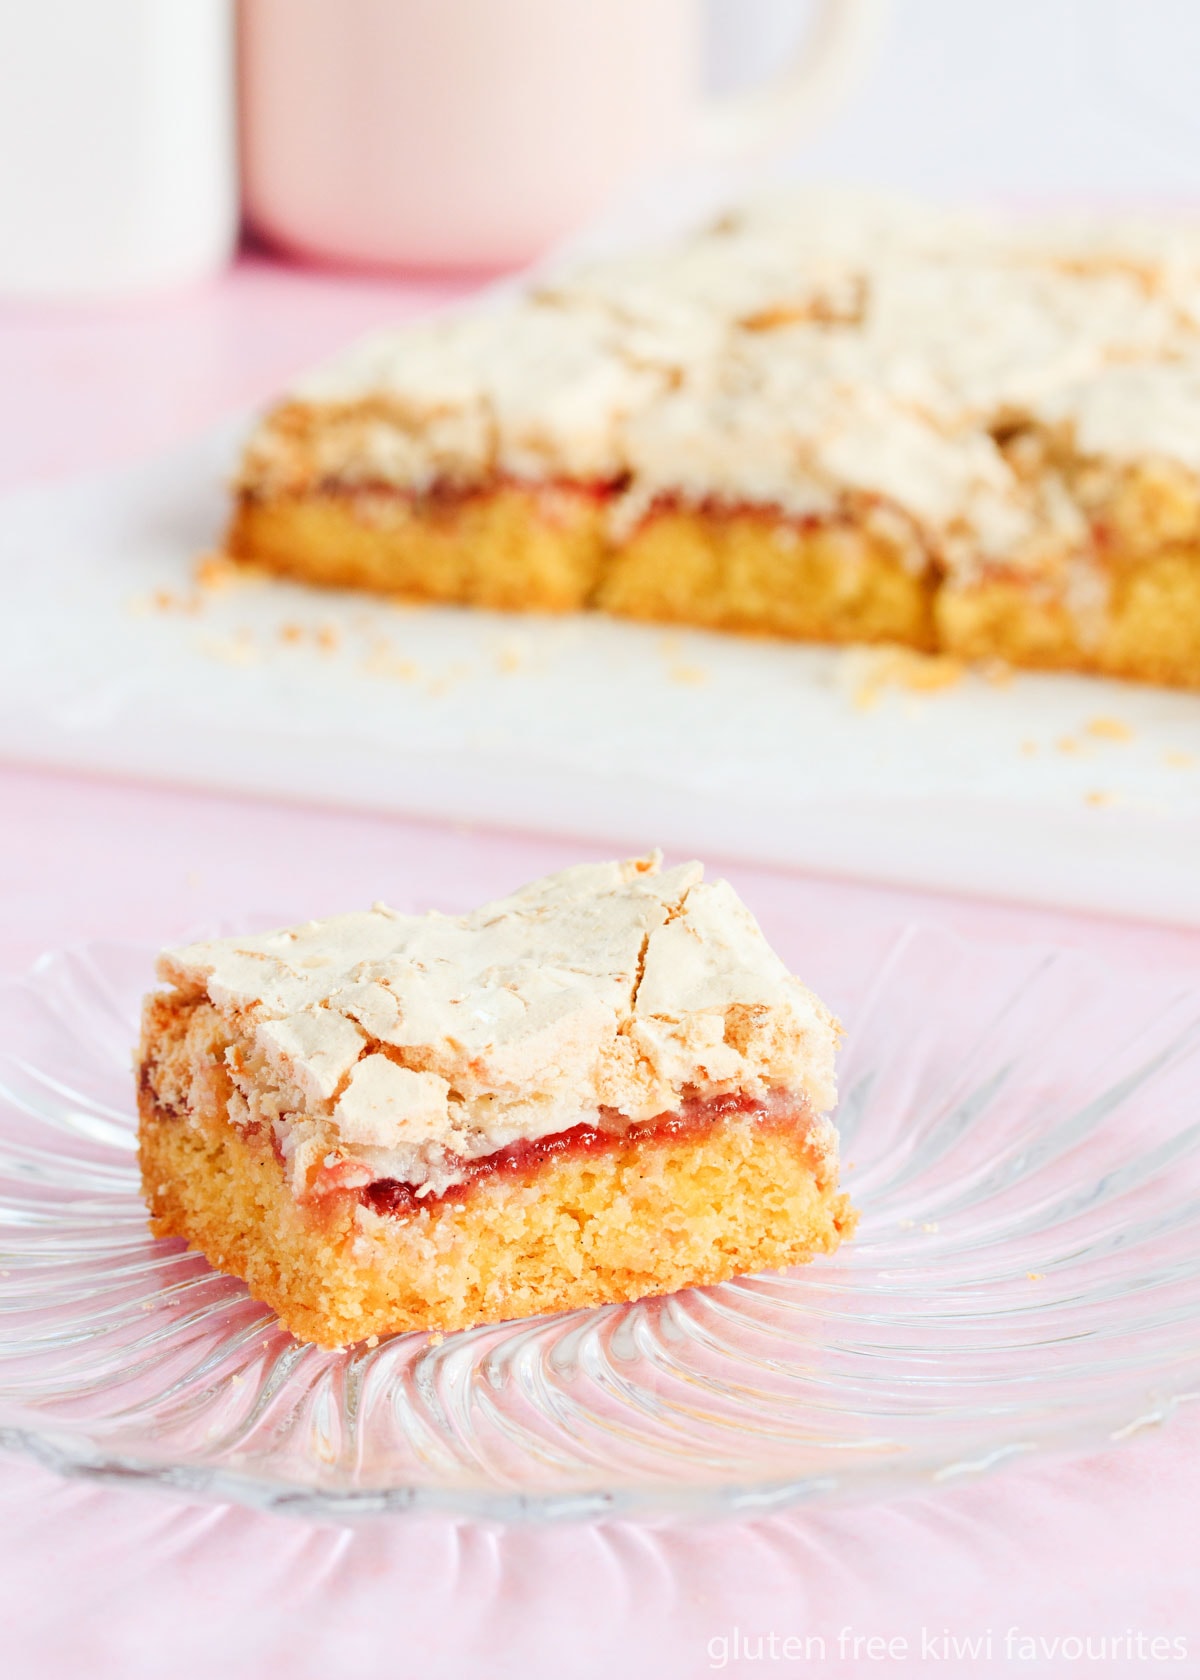
The slice gets baked at a low oven temperature until the meringue is slightly browned and crisp on top. Once it’s completely cool, you can remove it from the cake pan, and slice it into pieces with a large, sharp knife.
The meringue will shatter as you cut it. If you want neater slices, you can use a serrated knife, but I kinda like the rustic look.
Sometimes, often for no apparent reason, the meringue sinks a bit in the middle as it cools. The lemon juice and cornflour generally help to prevent it, but meringue is a fickle beast at the best of times so try not to be disheartened if it does sink. Once the slice is cut, it won’t be as obvious.
Storing the Slice
The slice keeps well in an airtight container at room temperature for at least a few days. The meringue does soften over time as it absorbs moisture from the base and the jam, but it’s still delicious.
More Gluten Free Slice Recipes
- Gluten Free Belgian Slice
- Gluten Free Weetbix Slice
- Gluten Free Citrus Slice
- Gluten Free Caramel Slice
Are you new to gluten-free baking?
Or just need some tips on how to make the most of the recipes on GFKF? Check out my start guide to learn how to bake safely and successfully gluten free.
Allergen safety ✔️ Gluten free flour info ✔️
Accurate measuring ✔️ Tools + Equipment ✔️

Gluten Free Louise Cake
Ingredients
For the Base:
- 180 g gluten free flour
- 1 teaspoon xanthan gum, optional, see notes
- 1 teaspoon baking powder
- 2 egg yolks
- 100 g butter, softened
- 120 g caster sugar
- 1 teaspoon vanilla paste or extract
- ½ cup raspberry jam
For the Meringue
- 2 egg whites
- 150 g caster sugar
- 1 teaspoons cornflour, optional
- 1 teaspoon lemon juice, optional
- ½ teaspoon vanilla extract or paste
- 60 g shredded coconut, (thread coconut)
Instructions
Make the Base:
- Heat the oven to 160℃. Line a 20cm (8") square cake pan with two criss-crossed strips of baking paper, leaving the edges overhanging so you can use them to lift the slice out later. Clip the edges down with metal binder clips, if you like.
- Sift the gluten free flour, xanthan gum and baking powder into a medium bowl and whisk to combine well. Set side.
- With very clean hands, separate the eggs. Be very careful not to get any traces of yolk in the whites, or the meringue won't whip up properly. Set the yolks and the whites aside.
- In a large bowl, beat the butter, sugar and vanilla paste or extract with an electric mixer until light and fluffy.
- Beat in the egg yolks one at a time, mixing until combined.
- Mix in the dry ingredients in 2-3 additions. Mix in the last addition by hand with a wooden spoon or spatula, as the mixture will be quite stiff by this stage.
- Spread the mixture evenly into the cake pan using a small offset spatula or the back of a spoon. Run the spatula or spoon under hot water if the mixture is sticking to it, this makes it easier to spread.
- Spread the jam over the top of the base mixture, avoiding the edges.
Make the meringue:
- Clean the electric mixer beaters very well in hot soapy water to remove the grease from the base mixture. Wipe them, and a medium-sized glass or metal bowl with a paper towel dipped in lemon juice to remove any last traces of grease.
- Add the egg whites to the bowl and whip them until soft peaks form.
- Add in the caster sugar a tablespoon-ish at a time, beating well between each addition until all of the sugar is added and dissolved, and the meringue is stiff.
- Beat in the cornflour, lemon juice and vanilla, then gently fold in the shredded coconut.
- Spread the meringue over the top of the base and jam.
- Bake the Louise cake for 45 minutes, until the meringue is puffed and slightly browned on top. If it browns too quickly, you can place a piece of foil over the top for the last 10 minutes of baking.
- Turn off the oven, open the door a crack and leave the slice to start cooling slowly in the oven for 10 minutes. Then remove from the oven and place on a wire rack to cool completely.
- Use a large sharp knife to cut the cake into squares.
- Store the Louise cake in an airtight container at room temperature. It will last well for several days, though the meringue will soften over time.
Hi, could I use a 10 inch round tin?
Would I need to double it?
Thanks!
Hi Sarah, according to my cake tin converter, a 10″ round is 1.23x the volume of an 8″ square so I would probably do 1.5x the recipe. You’ll need to adjust the baking time as well, and I can’t guess at that for you I’m afraid, so you’ll have to use your best judgement and keep an eye on it. Hope that helps 🙂
. Turned out well until I cut into it. Looked impressive but my base was quite crumbly and we found this one very sweet.
What could i use instead of xanthan gum?
Hi Susan, my apologies for the delayed reply, somehow I missed your question. If you’re using a pre-made gluten free flour blend like Edmonds, you don’t need to add xanthan gum, as most pre-made blends contain a gum ingredient. If you’re using a homemade blend like mine that doesn’t already have a gum ingredient added, you do need to add the xanthan gum, otherwise the slice base won’t hold together and will be crumbly.