Gluten Free Baking Flour Blend
This is my all-time favourite gluten free flour blend for baking. Perfect for cakes, cookies, muffins and so much more! It’s the flour I use to create and test all the recipes on Gluten Free Kiwi Favourites and Sweetness & Bite, too.
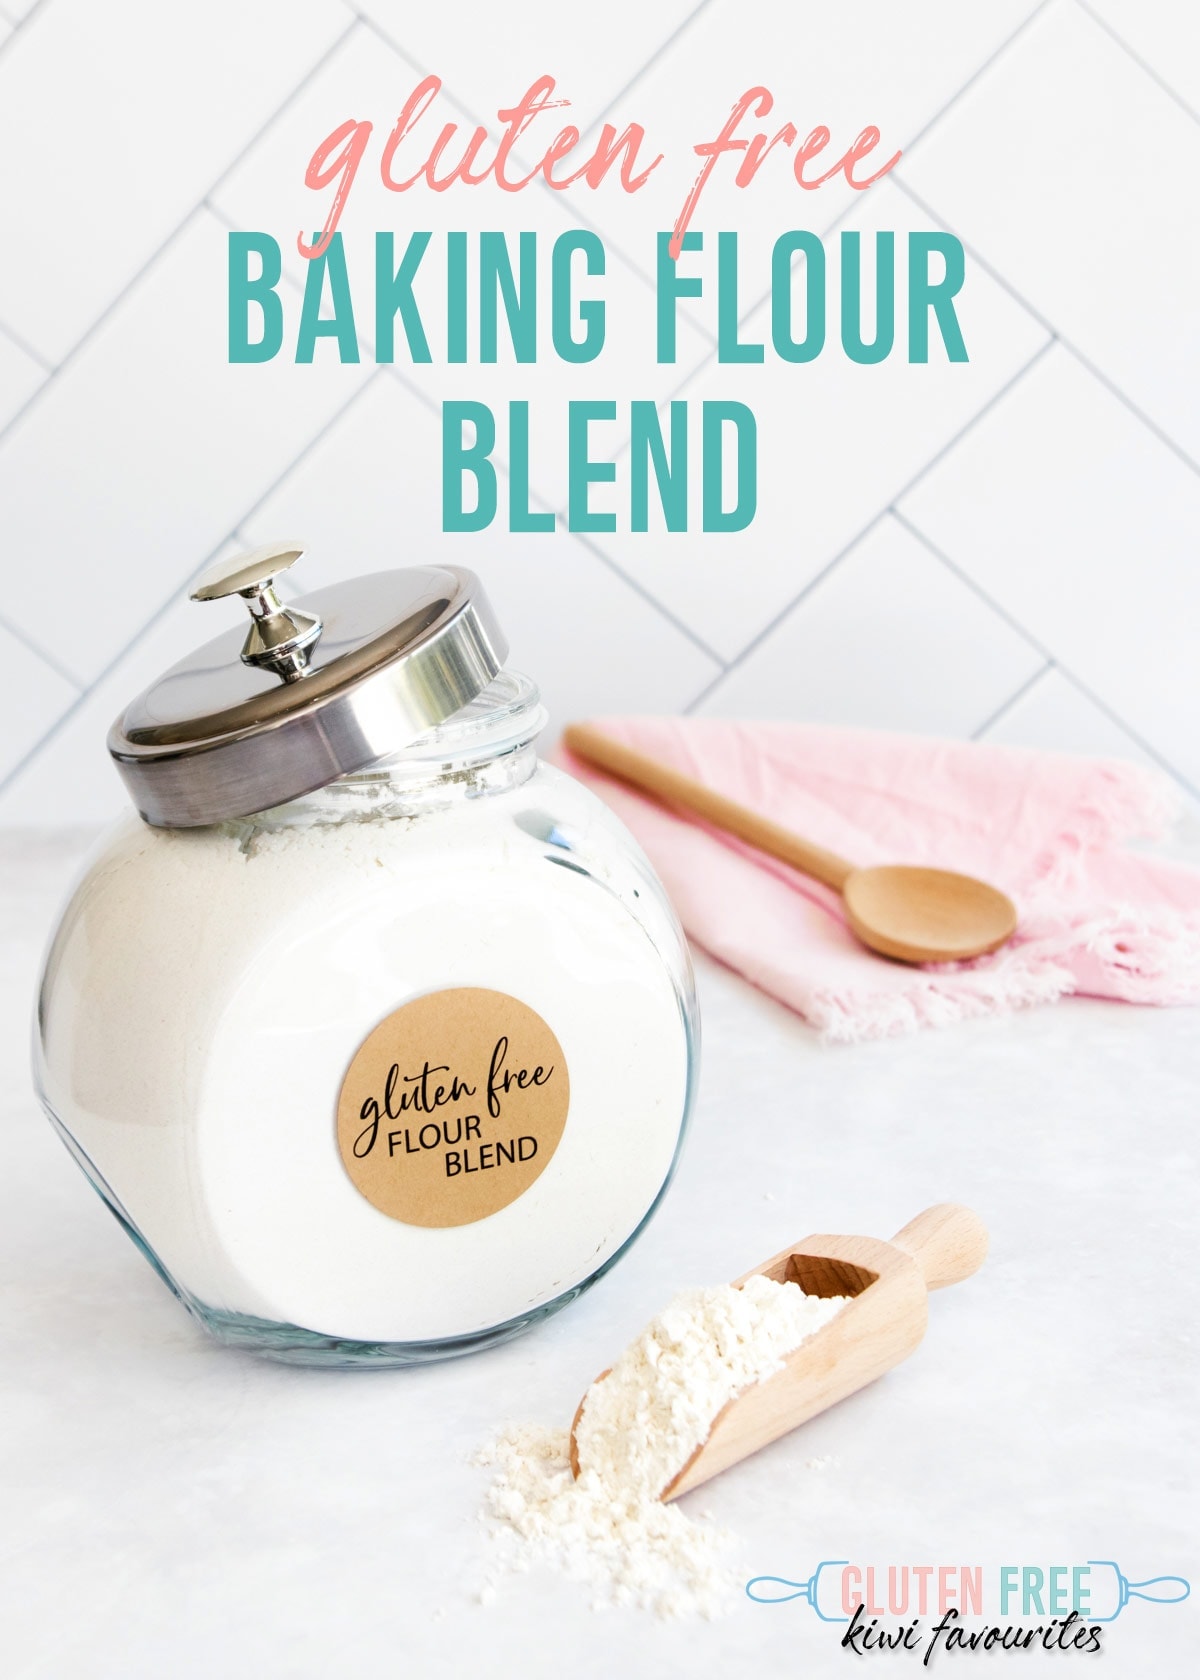
I often get asked what my favourite gluten free flour is, and I know people are hoping that I’ll give them the name of a pre-packaged gluten free flour blend. But I can’t lie, my all-time favourite gluten free flour blend is this one that I make myself.
I’ve tried a lot of different flour blends over the years, and always come back to this one. It only needs three component flours, it’s quick to mix up and I find it super versatile and reliable.
I’ve been using it now for around five or six years, and it’s the flour I always use to create and test all of my gluten free baking recipes.
Let’s talk quickly about the flour/starches used in the mix, and then we’ll talk about how to make it.
Gluten Free Flour Blend Ingredients:
Tapioca Starch
Tapioca starch is made from the root of the cassava plant. It is made up of mostly carbohydrates and has a bland, neutral taste and smell. It has very little nutritional value, but it is very helpful in giving baked goods a nice light texture.
Tapioca starch is often sold as “tapioca flour”, and these are generally the same product.
Brown Rice Flour
Brown rice flour is, rather obviously, made from ground brown rice. Unlike white rice flour, the bran layer and germ are not removed from the rice grains, which makes brown rice more nutritious and higher in fibre. I like it in baking as it gives more structure to cakes and cookies.
Potato Starch
Potato starch is made from just the starch in the potato and has no real potato smell or flavour. It absorbs moisture really well, and helps cakes hold that moisture for longer, which is great for baking.
A very, very important note on potato starch: Potato starch and potato flour are NOT the same product, and they are not interchangeable.
Potato flour is made from whole potatoes (including the skin). The potatoes are cooked and then dried and ground into flour. Potato flour is not generally used in baking as it has a strong potato smell and taste. As I mentioned above, potato starch is only the starch and has no taste or flavour.
Unfortunately, because potato starch is often used in baking, some manufacturers will incorrectly label it as “flour”. This can lead to a lot of confusion.
Luckily, it is relatively easy to tell whether the product you’re buying is starch or flour. Potato starch is pure white in colour and looks quite similar cornstarch (Edmonds cornflour) but with almost a slightly sparkly/shimmery look to it. If you can give it a sniff, it will not smell like potato. Potato flour is a dull cream/beige colour and smells strongly of potato – not something we want in our baking, right?
For the best results, I recommend buying a good quality brand for each of the component flours/starches, especially when it comes to the brown rice flour. Some brown rice flours are ground more coarsely than others, and they can give your baking a gritty mouth feel. We’re aiming for gluten-free baking that doesn’t “taste” gluten-free, so get the best quality flours that you can find.
If you are baking for someone with Coeliac Disease, you will need to make sure that your flours are certified gluten free. This is very important as for some Coeliacs, even trace amounts of gluten from flour processed on the same equipment can make them sick. Check for the crossed grain logo, products displaying the logo are checked and approved by Coeliac New Zraland.
My favourite flours that I buy here in NZ are Ceres Organics, which are available in many supermarkets now. Our local gluten-free shop also has some own-brand flours that are great too (and you can order from them online).
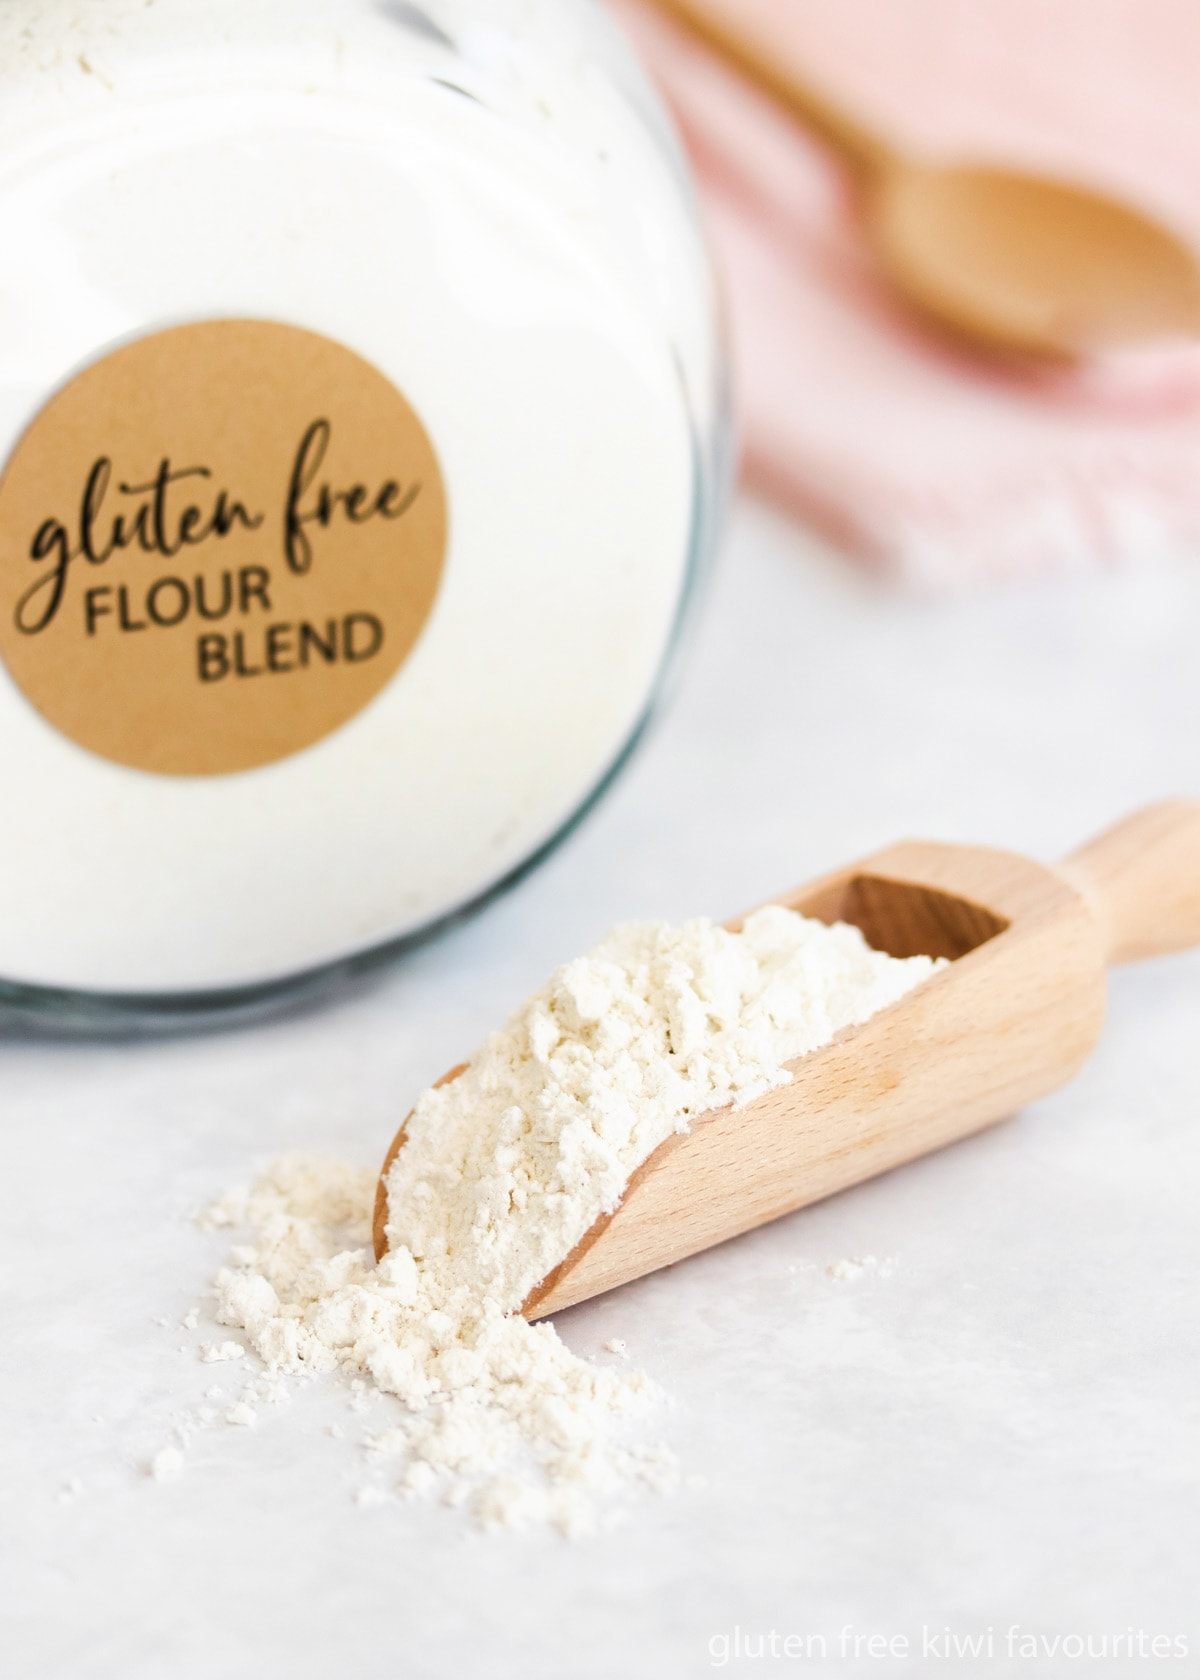
Xanthan Gum
Most types of gluten free baking require a gum ingredient to help bind the ingredients and provide structure to the finished product in the absence of gluten.
There are several gums available, including xanthan gum and guar gum. Xanthan gum is my preference.
Different baking recipes require different amounts of gum to be added to the gluten-free flour mix. For example, cakes tend to need more than cookies do. Cookies are usually somewhat crumbly by nature, whereas a cake that sinks after baking and/or crumbles to pieces when you cut it is never really desirable. Pancakes are usually best without any gum at all as they can get too chewy.
This is why I don’t include Xanthan gum in my actual flour blend. In all my recipes, I list the amount of gum you will need for that particular recipe.
But what if you want to use this gluten-free flour blend in your own recipes, or recipes by other authors? If the recipe is already gluten-free, then check to see if there is already a gum ingredient listed in the recipe. If there isn’t then I generally suggest using 1/2 teaspoon of Xanthan gum for an average-sized cookie recipe, or 1 teaspoon for an average-sized cake recipe.
If you make the recipe and the end result is crumbly, then increase the gum next time. If it comes out gummy or rubbery, then reduce it.
Measuring the Flour
For best results when converting your own favourite recipes, or when doing any gluten free baking really, always measure your flour by weight. I know I’m a bit of a scale-measurement-freak (is that a thing?), but you really, honestly, truly will get better results by weighing your ingredients than you will if you measure them in cups.
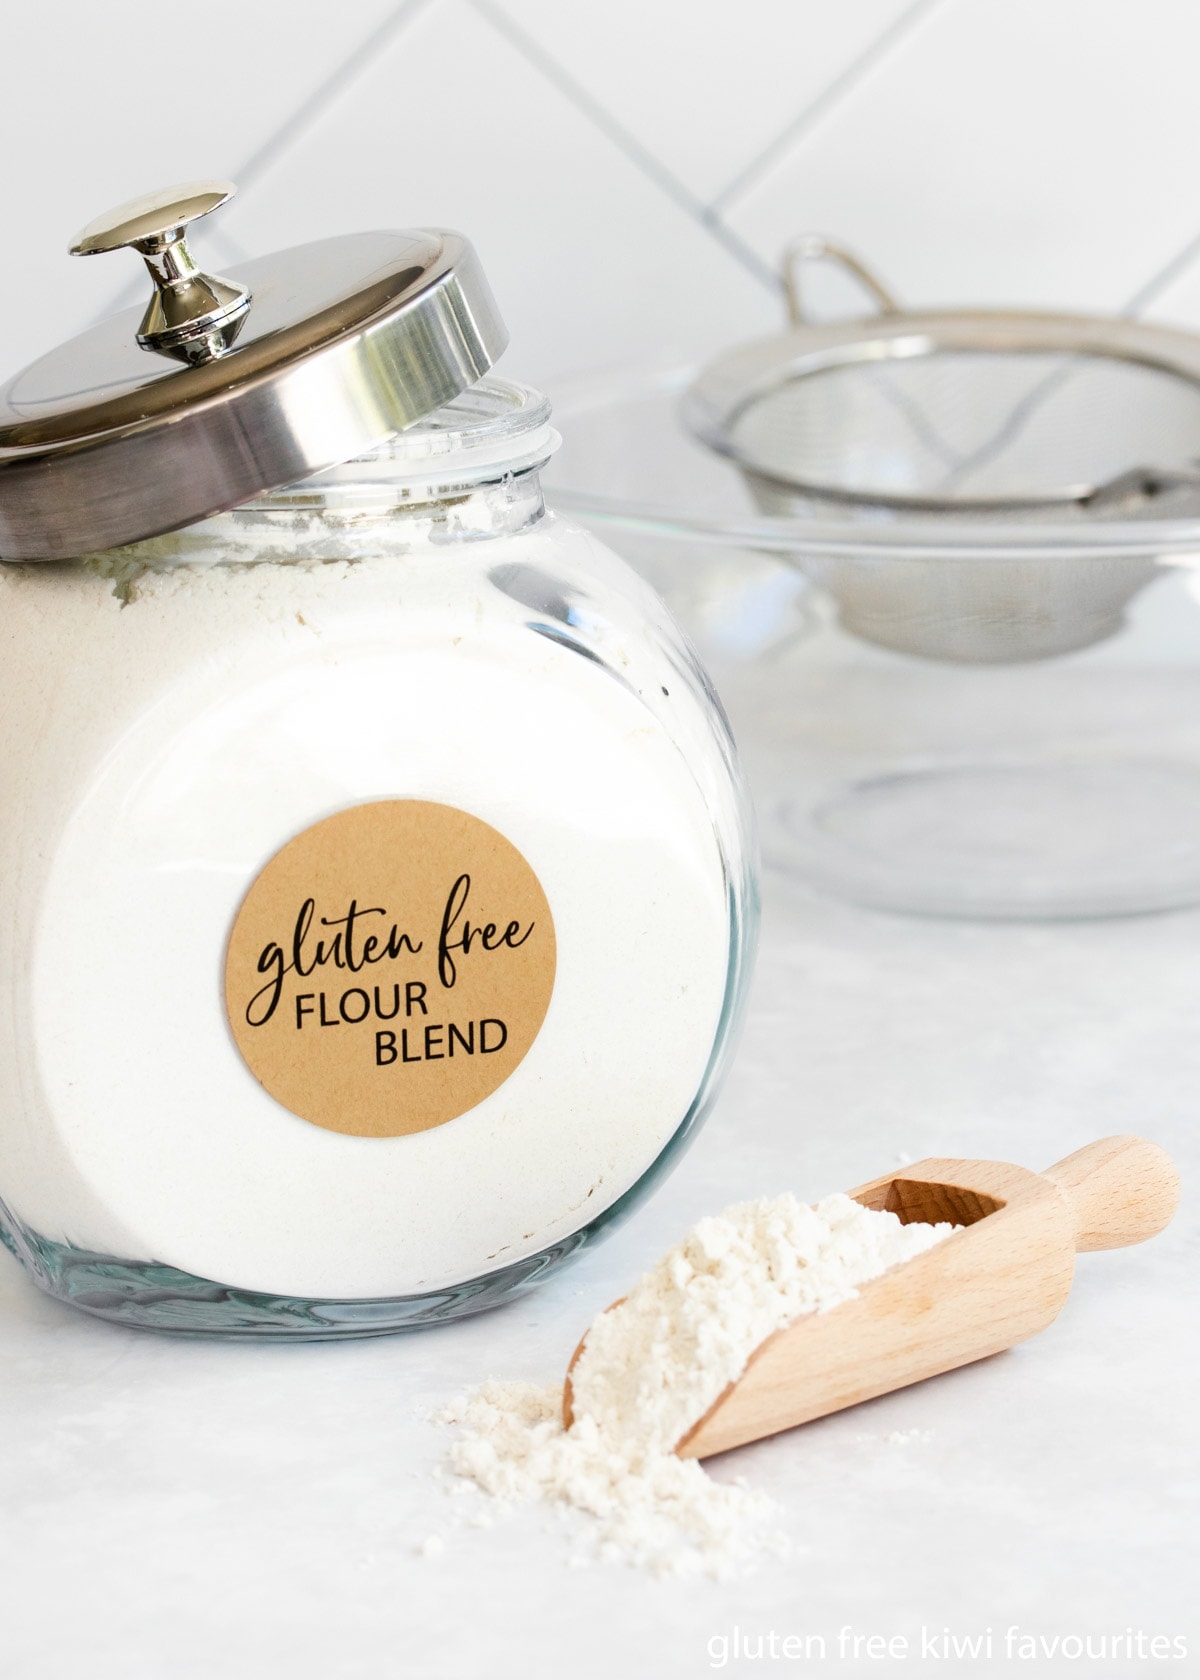
Mixing up the Flour Blend
This is easy as – just measure out each of your component flours, sift them into a large bowl, and mix them up.
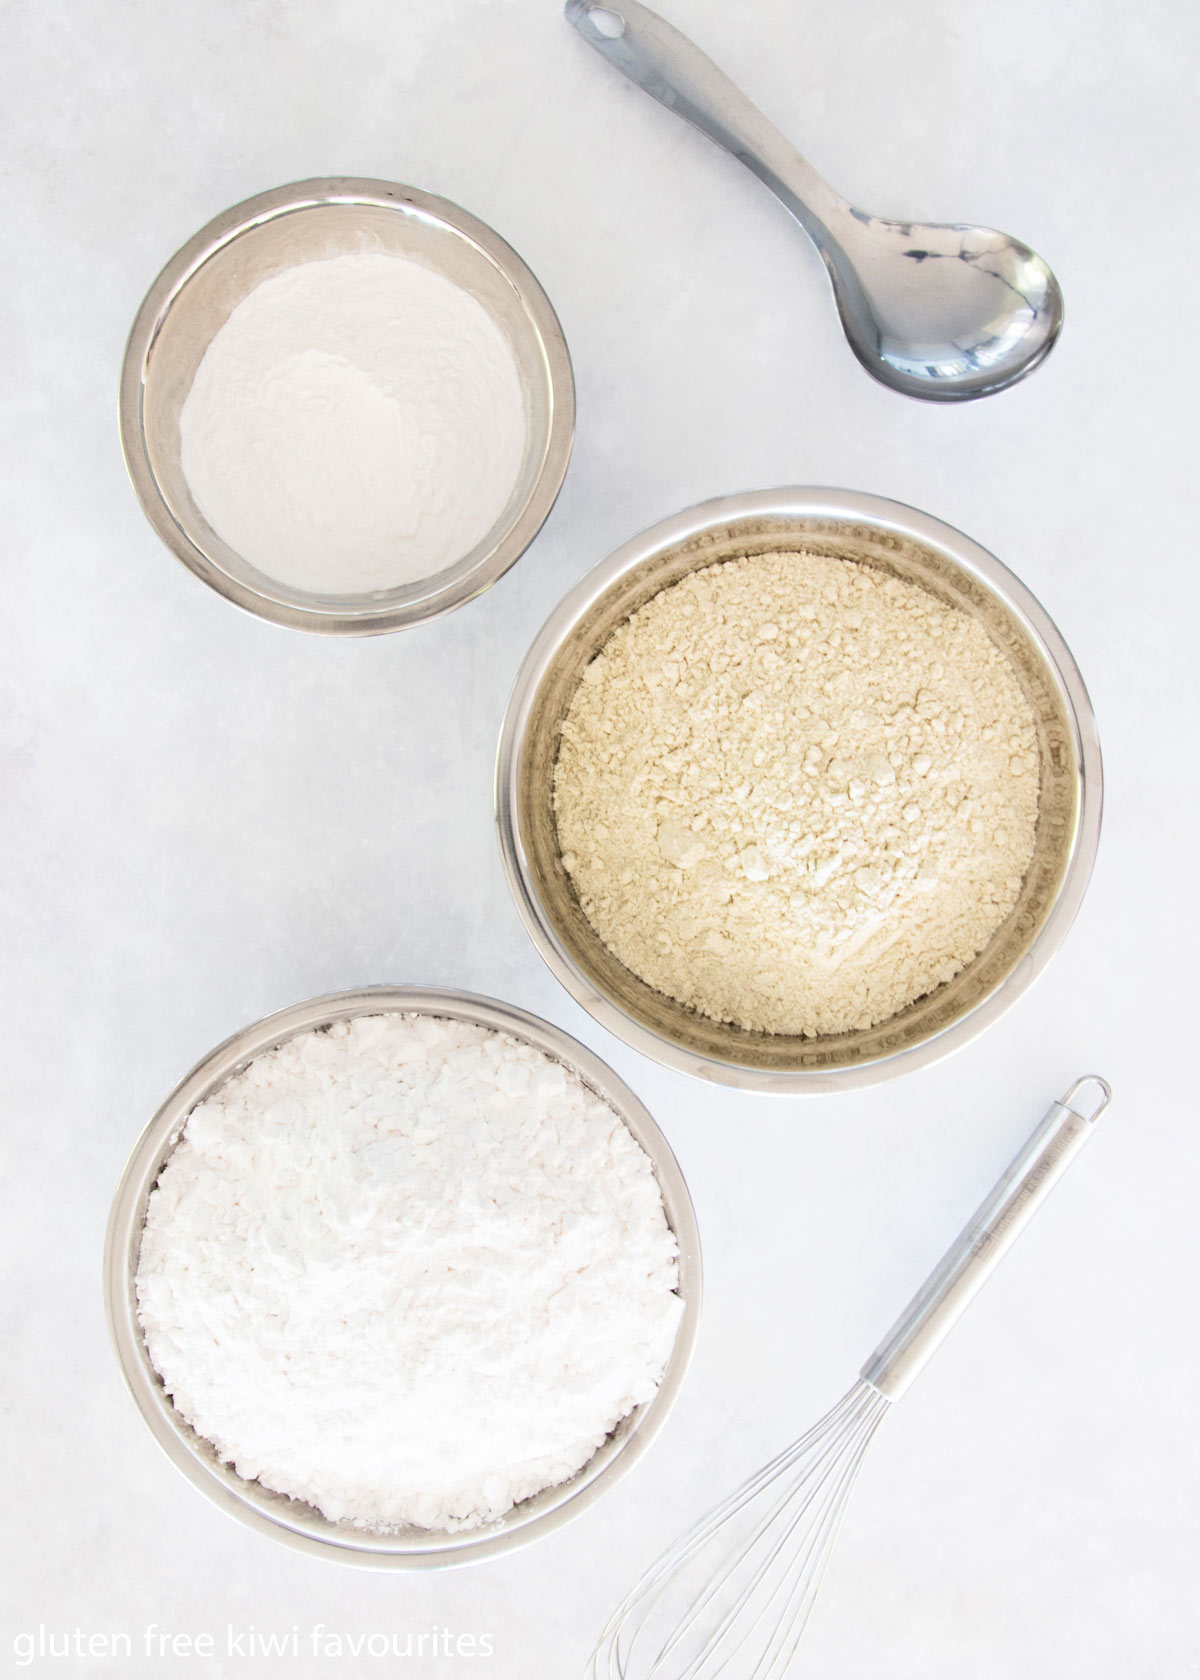
When I mix large batches like the 2kg batch I was making in these pictures, I like to mix it up in our big pasta pot.
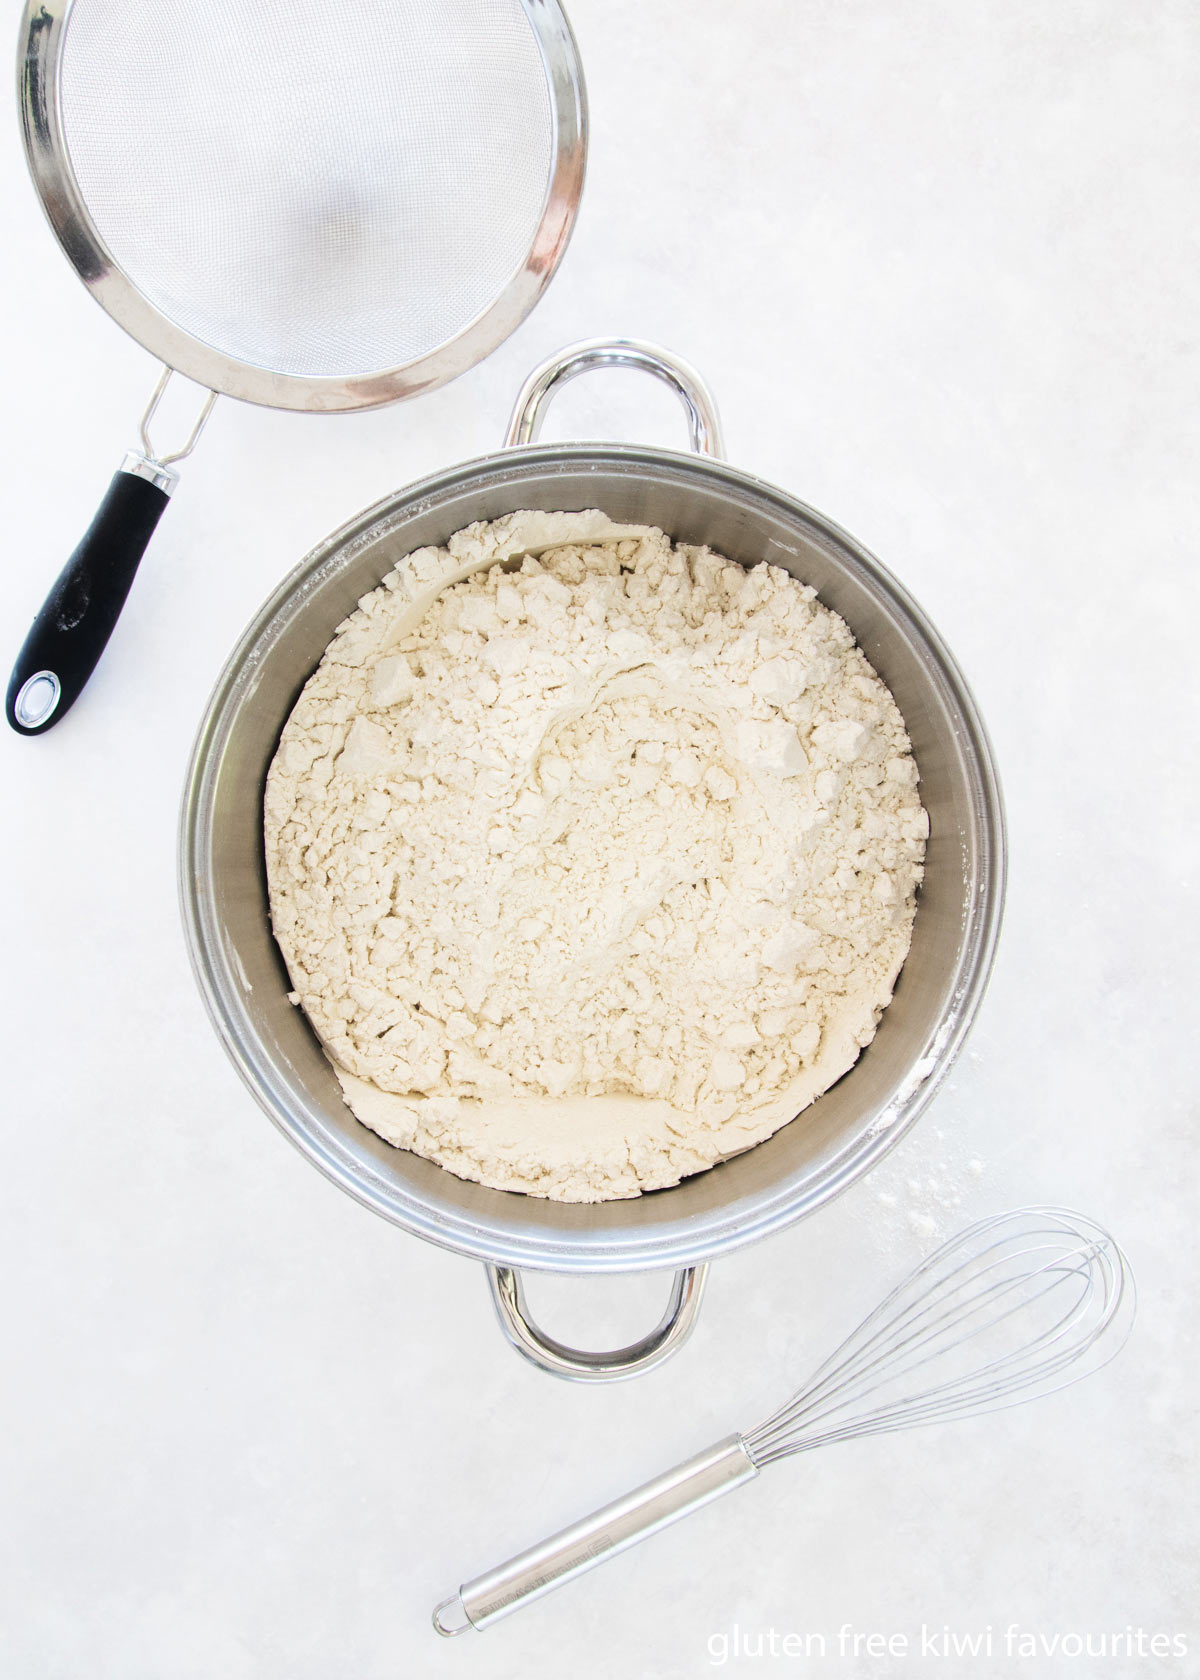
Then just transfer the flour to a jar or airtight container to store it. It’s helpful to check the best before dates on each of the individual flours and label the container of flour mix with the earliest of the best before dates.
As long as you store the flour in a dark cupboard or pantry and keep it airtight, it should keep well for several months.
If you want to keep your component flours and starches separate though, you’ll always be able to mix it up for each recipe (like I did, before I got my act together and started mixing up a big batch!).
Just multiply the total flour amount by .50 for tapioca flour, .10 for potato starch and .40 for brown rice flour.
Example – for 300g of flour:
300 x .50 = 150g of tapioca flour
300 x .10 = 30g of potato starch
300 x .40 = 120g of brown rice flour
Gluten Free Flour Blend FAQ
Most likely, yes! But for best results, make sure you use weight measurements and not cup measurements. Replace the wheat flour weight for weight with this blend, and add xanthan gum as needed. You may need to experiment a little, but this is a great starting point.
This is the flour blend that I use for pretty much all of my baking. I use it for cakes, cupcakes, cookies/biscuits, brownies, slices, scones, muffins and quick-mix bread. However, I haven’t tested it extensively with yeast bread recipes.
You can try it, but keep in mind that your end result will likely be crumblier, and things like cakes and cupcakes may be more prone to sinking, without the xanthan gum to provide extra structure to hold them up.
While your flour blend won’t end up exactly the same as mine, you can most likely successfully replace the brown rice flour with the same weight of white rice flour or sorghum flour, and the potato starch with cornstarch, or tapioca starch with half cornstarch and half white rice flour.
Yeah, nah? Whether any flour has a smell or a taste is a matter of personal opinion. Keep in mind that wheat flour has a smell and taste, too. So yes, this is different to wheat flour, but is it a taste or smell that you notice in your baking? No. You shouldn’t notice any difference in smell or taste in your baked goods. If you do, give your component flour a sniff and see if you can find the culprit, it may be that one of them has gone off.
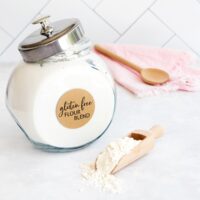
Gluten Free Baking Flour Blend
Ingredients
To Make 1 Kilogram:
- 500 g tapioca starch
- 400 g brown rice flour
- 100 g potato starch
To Make 2 Kilograms:
- 1 kg tapioca starch
- 800 g brown rice flour
- 200 g potato starch
To Make 3 Kilograms:
- 1.5 kg tapioca starch
- 1.2 kg brown rice flour
- 300 g potato starch
Instructions
- Sift the tapioca starch, brown rice flour and potato starch into a large bowl. Mix together thoroughly using a large spoon and/or whisk. The flours are properly blended when the mixture is a uniform colour with no streaks of individual flours visible.
- Transfer to an airtight container and store in a cool, dark pantry.
- I usually try and take note of the best-before dates on each of the flours and label the flour blend with the earliest of those dates. But provided the flour is stored correctly it will generally keep well for several months.

How do you convert a cup measurement to weight in an existing recipe that only uses cups and tsp/tbl spoons? Is it like for like…one cup is 250g of flour? Thanks!
Hi Rachael, this blend weighs about 125g per cup. When I’m converting recipes that are not already gluten free, I tend to use a little more though (130-140 grams). But if the recipe is already gluten free then I would do 125g and then adjust next time if needed. It’s not always an exact science but I usually get pretty close with that! Hope that helps 🙂